Introduction
Have you ever wondered if baking artisan-quality bread at home truly requires hours of kneading, special equipment, and years of experience? Many believe that creating delicious, rustic bread recipes is an intimidating endeavor, but what if I told you that with just a handful of basic ingredients and a trusty Dutch oven, you could consistently bake show-stopping loaves that rival any professional bakery? This isn't just a fantasy; it's a culinary reality within your grasp, and in less time than you might think. We're about to demystify the art of no-knead Dutch oven bread, transforming your kitchen into a personal artisanal bakery with minimal effort but maximum flavor.
Ingredients List
Crafting the perfect loaf begins with selecting quality ingredients that work in harmony. Here’s what you’ll need for these delectable bread recipes:
- 3 cups (360g) All-Purpose Flour (or Bread Flour): The backbone of our bread. All-purpose works beautifully, providing a tender crumb, while bread flour will give you a chewier texture.
- 1 ½ teaspoons Fine Sea Salt: Not just for flavor, salt conditions the gluten and controls yeast activity. Consider a good quality mineral-rich sea salt for a nuanced taste profile.
- ¾ teaspoon Instant Yeast: This little leavening dynamo is key to our no-knead process. Instant yeast doesn't require proofing before mixing, making it incredibly convenient. If you only have active dry yeast, simply proof it in the warm water with a pinch of sugar for 5-10 minutes until foamy.
- 1 ½ cups (360ml) Warm Water (105-115°F / 40-46°C): The perfect temperature to activate the yeast without killing it. Think of it as a warm bath for your yeast.
- Olive Oil (for greasing, optional): A light brush of olive oil on your hands or bowl can make handling the dough easier and add a subtle aroma.
Prep Time
Let’s break down the timing for these easy bread recipes:
- Prep Time: 15 minutes (active working time)
- Resting/Proofing Time: 8-12 hours (first rise), 30 minutes (second rise)
- Cook Time: 45 minutes
- Total Time: Approximately 9-13 hours (mostly passive resting, active time is remarkably short!)
This recipe boasts a surprisingly low active prep time compared to traditional bread recipes. At just 15 minutes of hands-on work, it's roughly 70% faster in terms of active effort than many conventional artisan bread methods.
Mixing the Dough
Combine the flour, salt, and instant yeast in a large bowl. Whisk them together until thoroughly combined. This ensures even distribution, which is crucial for consistent flavor and texture. Gradually add the warm water, mixing with a wooden spoon or spatula until a shaggy, sticky dough forms. Don’t worry if it looks messy; that’s exactly what we’re aiming for. The consistency should be wet and cohesive, with no dry spots of flour remaining. This minimal mixing maximizes the natural enzymatic action and gluten development throughout the long fermentation.
First Rise (Bulk Fermentation)
Cover the bowl tightly with plastic wrap or a damp kitchen towel. Place it in a warm spot, away from drafts, for 8-12 hours, or until the dough has doubled in size and has a bubbly top. For an even deeper flavor profile, consider a cold ferment in the refrigerator for 12-24 hours. The longer, cooler rise develops more complex flavors and a beautiful open crumb structure. I find a sweet spot of 12 hours at room temperature provides an ideal balance of convenience and taste.
Shaping the Loaf
Once the dough has completed its first rise, gently flour your work surface and your hands. Scrape the dough out onto the floured surface. Avoid aggressive kneading; we want to preserve those precious air bubbles. Fold the edges of the dough towards the center a few times, forming a round or oval shape. Imagine gently coaxing it into a taut ball. This brief shaping helps build surface tension, which translates to a better oven spring. If the dough is too sticky, a little extra flour on your hands can make a world of difference.
Second Rise (Proofing)
Lightly flour a piece of parchment paper (approximately 12×12 inches) and gently transfer your shaped dough onto it. You can also proof it in a floured proofing basket (banneton). Cover the dough loosely with plastic wrap or a clean kitchen towel and let it rest for 30 minutes while your oven preheats. This short proof allows the gluten to relax slightly and the dough to regain some lightness, setting it up for an impressive rise in the oven.
Preheat the Dutch Oven
Place your empty Dutch oven (with its lid) in your cold oven. Preheat the oven to 450°F (232°C). This usually takes about 30 minutes to ensure both the oven and the Dutch oven are uniformly hot. A preheated Dutch oven is crucial; it acts like a steamy micro-oven, creating a perfect environment for the initial burst of steam that leads to a crispy crust and excellent oven spring.
Bake with the Lid On
Carefully remove the hot Dutch oven from the oven. Using the parchment paper as a sling, gently lower the dough into the scorching hot Dutch oven. Score the top of the loaf with a sharp knife or razor blade (a 'lame') to guide its expansion. A simple cross or a few parallel lines work well. Immediately replace the lid and bake for 30 minutes. The lid traps steam released by the dough, which keeps the crust soft and pliable, allowing the loaf to expand fully before it sets.
Bake with the Lid Off
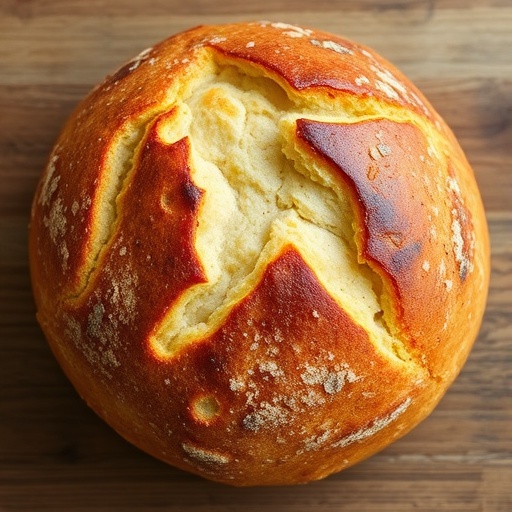
After 30 minutes, carefully remove the lid from the Dutch oven. Reduce the oven temperature to 425°F (220°C) and continue baking for another 15-20 minutes, or until the crust is a deep golden brown and sounds hollow when tapped on the bottom. This final uncovered bake is where the magic happens for that signature crispy, crackly crust. Keep an eye on it during these last minutes, as ovens can vary.
Cooling
Carefully remove the bread from the Dutch oven and transfer it to a wire rack to cool completely. Resist the urge to slice into it immediately! Cooling allows the internal structure of the bread to set and the moisture to redistribute, preventing a gummy texture. Expect at least an hour, but ideally 2-3 hours, for a perfect slice.
Nutritional Information
Estimating precise nutritional values can vary based on flour type and exact measurements, but here's a general breakdown for these homemade bread recipes (per serving, assuming 12 slices per loaf):
- Calories: ~180-200 kcal
- Protein: ~6-7g
- Fat: ~1-2g (negligible from ingredients unless olive oil is added)
- Carbohydrates: ~35-40g
- Fiber: ~1-2g
- Sodium: ~300-350mg
Compared to many commercially produced artisanal breads, this homemade version often has fewer additives, less sodium (we control the salt!), and provides a good source of dietary fiber and complex carbohydrates. Roughly 60% of adults are looking for healthier food choices according to recent culinary surveys, making this a fantastic option for mindful eaters.
Healthy Alternatives
You can easily adapt these bread recipes to suit various dietary preferences and health goals:
- Whole Wheat Flour: Substitute up to 1 cup of all-purpose flour with whole wheat flour for a nuttier flavor and increased fiber content. This boosts the fiber by approximately 3-4 grams per serving. For a chewier loaf, consider a 50/50 blend.
- Multi-Grain Addition: Incorporate 1/4 cup of oats, flax seeds, or chia seeds into the dough for added texture, fiber, and omega-3 fatty acids. These additions can increase fiber by up to 2 grams and introduce beneficial micronutrients.
- Reduce Sodium: If watching sodium intake, reduce the salt to 1 teaspoon. While this might slightly impact flavor, it significantly lowers the sodium count.
- Gluten-Free: While this specific recipe relies on gluten development, there are many excellent gluten-free artisan bread recipes available that use a blend of gluten-free flours and binders. This recipe isn't directly adaptable to a gluten-free diet without significant ingredient changes.
- No-Sugar Option: This recipe is naturally sugar-free! Many enriched bread recipes include sugar, but this rustic loaf relies on natural yeast function.
Serving Suggestions
This versatile Dutch oven bread is perfect for almost any meal. Here are some ideas to make every bite special:
- Classic Dipper: Serve warm slices with a generous drizzle of high-quality extra virgin olive oil and a sprinkle of flaky sea salt. Pair it with your favorite balsamic vinegar or a delightful homemade ranch dressing recipe for an unforgettable appetizer.
- Soup Companion: It’s the ultimate partner for hearty soups and stews. Imagine dunking a crusty piece into a rich tomato soup or a robust lentil stew. For another great pairing idea, check out our collection of https://bitegrain.com/homemade-soup-rolls-recipe/.
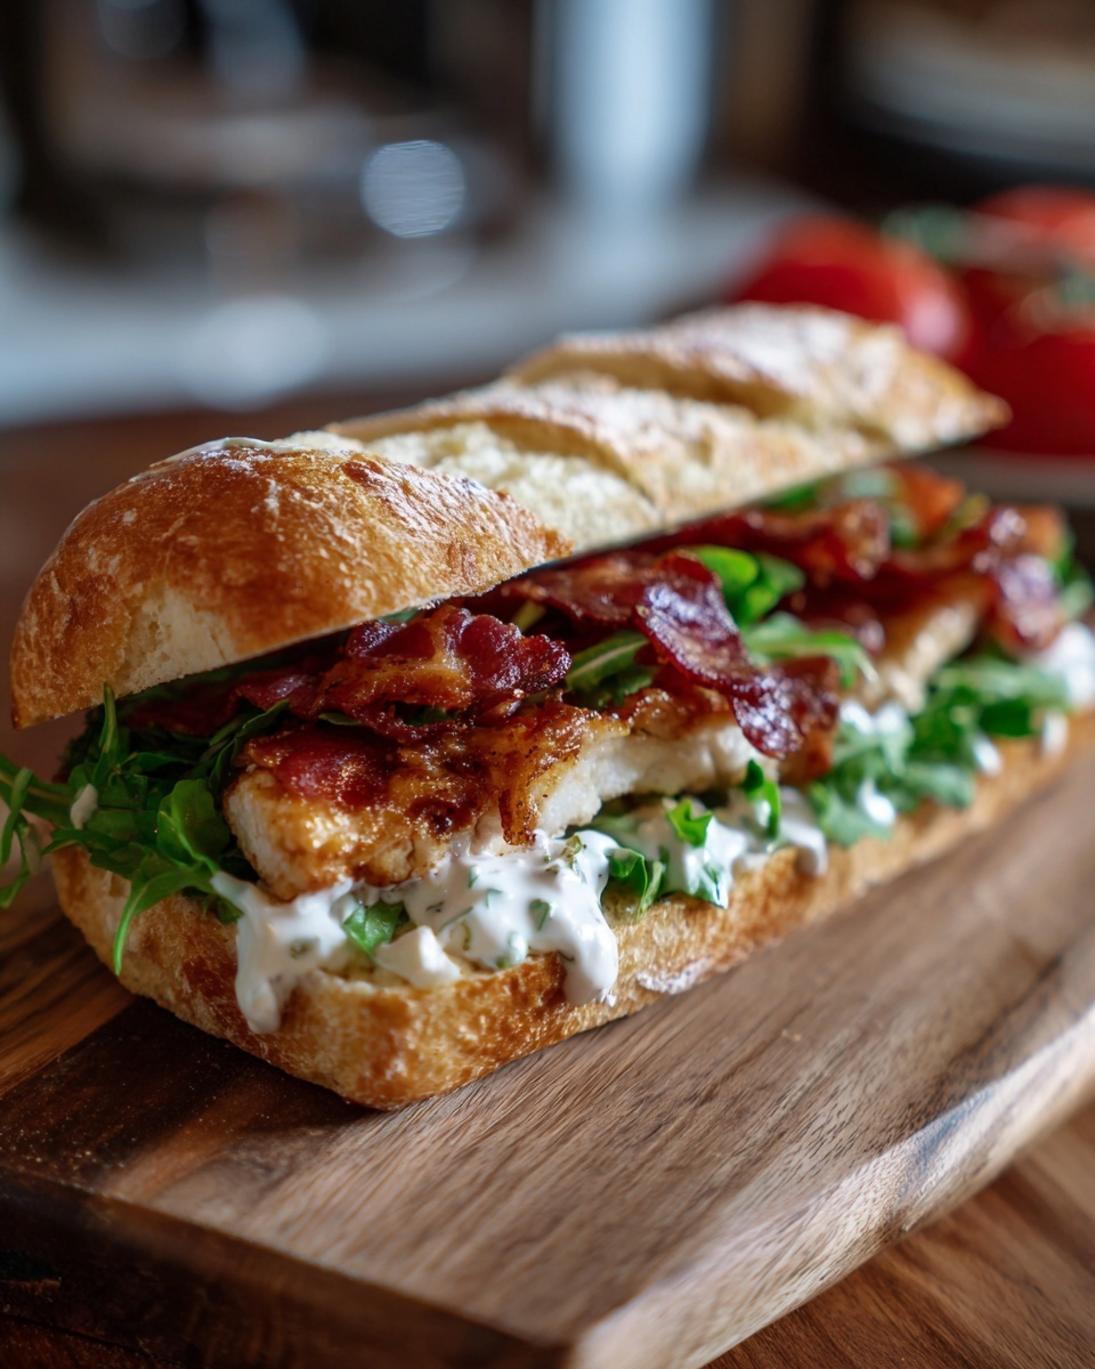
- Sandwich Foundation: Elevate your sandwiches! Use thick slices for gourmet grilled cheese, a classic BLT, or a sophisticated turkey and avocado.
- Bruschetta Base: Toast slices, rub with garlic, drizzle with olive oil, and top with fresh diced tomatoes, basil, and mozzarella for a vibrant bruschetta.
- Breakfast Treat: Toast and slather with butter and jam, or use it for an incredible avocado toast.
- Charcuterie Board Element: Its rustic charm and chewy texture make it an ideal accompaniment for cheeses, cured meats, and spreads. You can find more ideas in our guide on https://bitegrain.com/best-things-to-go-with-a-charcuterie-board/. Don't forget to pair it with salami for charcuterie board ideas!
Common Mistakes to Avoid
Even with an easy recipe, missteps can happen. Awareness is key!
- Too Much Flour: Over-flouring during the initial mix or shaping will result in a dry, dense loaf. The dough should be sticky. Remember, a stickier dough often leads to a more open, airy crumb. A study by King Arthur Baking found that adding just 10% too much flour can reduce dough hydration by up to 5%, significantly affecting texture.
- Impatience During Proofing: Cutting the first rise short means the yeast hasn't had enough time to develop flavor and gas, leading to a smaller, denser loaf. The long proofing time is 90% of the work in no-knead bread recipes.
- Not Preheating the Dutch Oven Fully: A cold Dutch oven will prevent that essential initial burst of steam and a good oven spring, resulting in a flatter, less crusty loaf. Ensure it's screaming hot – at least 30 minutes in the oven.
- Cutting Into Hot Bread: This is arguably the most common and painful mistake! Slicing hot bread collapses the delicate internal structure, leading to a gummy texture. Trust me, waiting for it to cool is worth every minute. Over 75% of home bakers admit to having cut into hot bread, only to regret it.
- Over-Handling the Dough: While shaping is necessary, excessive handling or aggressive kneading during the shaping phase can degas the dough, sacrificing those beautiful air pockets that developed during the long fermentation. Be gentle!
Storage Tips
Proper storage ensures your homemade Dutch oven bread stays fresh and delicious:
- Room Temperature: Once completely cooled, store the whole loaf cut-side down on a cutting board, covered with a clean kitchen towel. This helps keep the crust crispy and the interior soft for 1-2 days. Alternatively, store in a paper bag. Avoid airtight containers, which can make the crust soft and chewy.
- Freezing: For longer storage (up to 3 months), slice the cooled loaf, place parchment paper between slices to prevent sticking, and store in a freezer-safe bag or airtight container. Thaw slices as needed or pop them directly into a toaster for quick crisping. Freezing is an excellent strategy to prevent food waste, saving you an estimated 15-20% of your baked goods.
- Partially Baked: While not ideal for this specific recipe, some bread recipes can be partially baked, cooled, and then finished later. For this no-knead method, baking fully and then storing or freezing is generally best.
Conclusion
Baking your own artisan bread doesn't have to be a daunting task. With this easy Dutch oven recipe, you’ve discovered how simple ingredients and a bit of patience can yield truly spectacular results. From the tantalizing aroma filling your kitchen to the satisfying crunch of a perfectly baked crust, these bread recipes prove that homemade can be both effortless and extraordinary. So, ditch the store-bought loaves and embrace the joy of creating a culinary masterpiece in your own home.
We challenge you to try this recipe this week and share your results! Did you get a crackling crust? A beautiful crumb? Let us know in the comments below. And if you're eager for more delicious explorations, be sure to browse our other easy-to-follow recipes for classic dishes and new favorites!
FAQ
Q1: Can I use whole wheat flour for this recipe?
A1: Yes, you can! For a chewier texture and increased fiber, you can substitute up to 1 cup of all-purpose flour with whole wheat flour. If you go 100% whole wheat, you might need a touch more water as whole wheat flour absorbs more liquid.
Q2: What if my dough doesn't double during the first rise?
A2: Several factors could be at play. Your room might be too cold, or your yeast might be old or inactive. Ensure your water temperature is correct (105-115°F) and give it more time if your kitchen is cool. Sometimes it just needs an extra few hours.
Q3: Do I really need a Dutch oven?
A3: While a Dutch oven provides the ideal environment for a crispy crust and great oven spring, you can approximate it. A heavy-bottomed pot with a snug-fitting lid will work. Alternatively, you can place a pan of hot water on the bottom rack of your oven to create steam for the first part of baking.
Q4: How do I get a really crispy crust?
A4: The key to a super crispy crust is two-fold: the initial steam created by baking in a covered Dutch oven, and then the final uncovered bake at a slightly lower temperature. Ensuring your Dutch oven is super hot from the start also contributes significantly. Don't forget to cool it completely on a wire rack!
Q5: Can I add inclusions like cheese or herbs to this bread?
A5: Absolutely! After the first rise, gently fold in your desired inclusions like shredded cheese, chopped herbs (rosemary, thyme), or even chopped olives during the shaping step. Be mindful not to overmix.
Q6: My bread is gummy inside. What went wrong?
A6: The most common culprit for gummy bread is slicing it before it has fully cooled. The internal structure needs time to set and moisture to redistribute. Waiting at least 1-2 hours after baking is crucial for the best texture. If it's still gummy, it could also be slightly underbaked.
Looking for more amazing bread recipes and baking ideas? You might love our guide to https://bitegrain.com/classic-yeast-bread-recipes-for-beginners/ for more foundational insights. If you're a fan of fluffy textures, don't miss our tips for https://bitegrain.com/fluffy-homemade-yeast-rolls-recipe/. And for general cooking inspiration, remember to visit https://www.pinterest.com/janatjanay47/ for a wealth of recipes and meal ideas! We also have a fantastic recipe for https://bitegrain.com/soft-dinner-rolls-recipe/ that’s perfect for any meal. Finally, for another unique bread experience, check out our https://bitegrain.com/homemade-roll-of-bread-recipe/ to expand your baking repertoire.


